Showing posts with label bread. Show all posts

Saturday, May 7, 2011

Savory Biscotti


I'm posting this a day late, but the last Cookbook Challenge theme was Crunchy. This one wasn't quite as easy as you would expect! It's hard to find a recipe in a cookbook based on the crunchiness, because they certainly don't list anything in the index under "Crunchy". So I had to think of food that was definitely crunchy, and I remembered this recipe I had seen in the Best of Weight Watchers Magazine cookbook for savory biscotti. They didn't turn out quite as crunchy as I thought they would, but they were yummy!

2 tbsp olive oil
1 tbsp unsalted butter, melted
3 garlic cloves, finely chopped
2 tsp fennel seeds, crushed
1/2 tsp curry powder
2 cups all-purpose flour
2 tbsp yellow cornmeal
1 1/2 tsp baking powder
2 tsp sugar
1 tsp salt
1/4 tsp cayenne
2 egg whites
1 large egg

Note 1: I'm assuming that because this is a Weight Watchers recipe, they replaced 1 egg with 2 egg whites to save calories. So you don't need to use 2 egg whites and 1 egg if it's too much trouble, you can just use 2 whole eggs.
Note 2: Three cloves of garlic may seem like a lot, but the fennel balances it out!
Note 3 (from the cookbook): To crush the fennel seeds, place them on a piece of wax paper, fold over some of the paper to cover, and then press down with a rolling pin.

Preheat the oven to 350F.
Stir the oil, butter, garlic, fennel seeds, and curry powder in a medium microwavable bowl. Microwave on High until aromatic, 10-35 seconds. Let cool.
Whisk the flour, cornmeal, baking powder, sugar, salt, and cayenne in a large bowl.
Whisk the egg whites and egg into the butter mixture; stir into the flour mixture with a wooden spoon until a stiff dough forms.
On a lightly floured surface, roll dough into two 12-inch logs and place 2 inches apart on an ungreased baking sheet.
 Bake until light golden and firm to the touch, about 25 minutes. Let cool completely. With a serrated knife, slice the logs on a slight angle 1/4-inch thick.
 Arrange the slices flat on the baking sheet. Bake 5-6 minutes, turn, and bake until light golden on both sides, 5-6 minutes more.


Monday, April 11, 2011

Garden Bunnies


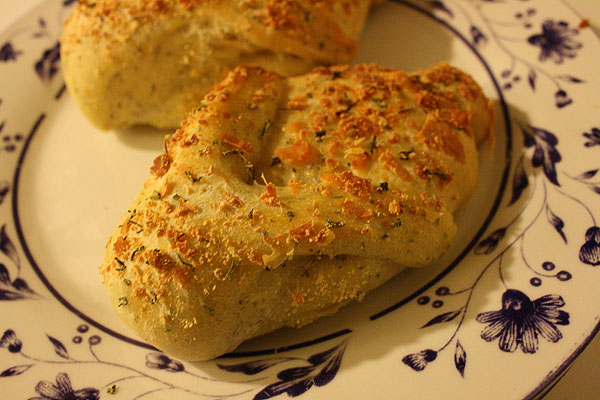
 I'm a couple days late, so the just past Cookbook Challenge theme was Celebration. I chose this recipe for Garden Bunnies from my Better Homes & Gardens Classic Recipes cookbook as a celebration of Spring. They can also be used to celebrate Easter, obviously.

I made the mistake of using a rather old envelope of yeast, so my Garden Bunnies didn't rise very well and turned out a little dense. They tasted very good, though, and were easier to make than I thought they would be!

5 1/2 to 6 cups all-purpose flour
1 pkg. active dry yeast
2 1/4 cups milk or buttermilk
1/4 cup mixed snipped fresh herbs such as sage, rosemary, parsley, and thyme; or 3 to 4 tsp. dried herbs, crushed
2 tbsp sugar
1 tbsp butter
1 1/2 tsp salt
1 recipe Sugar-Sage Topping or Rosemary-Cheese Topping (below)
1 egg white
1 tbsp water

Note: Rosemary and sage are strong-flavored herbs. If using them alone, add only 2 tablespoons fresh or 2 teaspoons dried.

Sugar-Sage Topping: In a small bowl stir together 1/3 cup fine sanding sugar or granulated sugar and 1 tablespoon finely snipped fresh sage.
Rosemary-Cheese Topping: In a small bowl stir together 1/3 cup grated Parmesan cheese and 1 tablespoon fine snipped fresh rosemary.

1. In a large mixing bowl combine 2 1/2 cups of the flour and the yeast; set aside. In a medium saucepan heat and stir milk, herbs, sugar, butter, and salt just until warm (120F to 130F) and butter almost melts.

Add milk mixture to flour mixture. Beat with an electric mixer on low to medium speed for 30 seconds, scraping sides of bowl constantly. Beat on high speed for 3 minutes.

Using a wooden spoon, stir in as much of the remaining flour as you can.
2. Turn dough out onto a lightly floured surface. Knead in enough of the remaining flour to make a moderately stiff dough that is smooth and elastic (6 to 8 minutes). Shape into a ball. Place in a lightly greased bowl; turn once to grease surface.
 Cover; let rise in a warm place until double (45 to 60 minutes).
3. Punch dough down; turn out onto a lightly floured surface. Divide in half; cover and let rest for 10 minutes. Meanwhile, lightly grease a baking sheet; set aside.
4. To form bunnies, roll a portion of dough into an 8-inch circle. With a sharp knife, cut into 6 wedges.
 From 4 wedges, snip a small amount of dough to make tails for bunnies. Gently shape the 4 wedges into ovals by pulling edges under and pinching together. Place ovals, pinched side down, on prepared baking sheet. Flatten slightly to 4 inches long.
 5. Form snipped pieces of dough into tails; press onto one end of dough ovals. To make heads and ears, divide the remaining 2 wedges in half, making 4 small wedges total. Shape each wedge into a teardrop shape, about 4 inches long. With kitchen shears, cut into the pointed end of each, making cuts about 2 1/2 inches long. Lay each set of ears on top of an oval shape, near end opposite tail. If necessary, brush with water to help dough stick together. Gently give the ears a half twist so the cut edge is facing up.
6. Repeat rolling and shaping with the other portion of dough.
Cover and let rise in a warm place until nearly double in size (about 30 minutes).
7. Preheat oven to 350F. Prepare Sugar-Sage Topping or Rosemary-Cheese Topping; set toppings aside. In a small bowl beat together egg white and water. Brush bunnies with egg mixture. Sprinkle (or rub) with topping. Bake for 15 to 20 minutes or until done, covering with foil the last half of baking to prevent overbrowning. Serve warm. Makes 8 bunnies.

Wednesday, February 9, 2011

Rosemary Raisin Bread

From Better Homes and Gardens: Classic Recipes, published in 2005. This is one of the very few cookbooks I have that was published in the past decade, and it's also one of my very favorites. This will not be the last time I post a recipe from it!

This rosemary raisin bread is the perfect bread to have with breakfast (or as breakfast if you only have time to grab something small). It's savory-sweet, is good toasted or not, and it goes well with other breakfast foods such as eggs.

The recipe makes two loaves, but I always halve the recipe because I only own one loaf pan. It's easy to halve, except it might be a little tricky to cut an egg yolk in half! I suggest getting a little custard cup or condiment bowl and putting the yolk in there, then taking a spoon to scoop out half of it when you need to put it in the batter, and put the other half aside until you need it for the glaze.

6 to 6 1/2 cups all-purpose flour
2 packages active dry yeast
2 1/2 cups milk
3 tbsp sugar
2 tbsp butter
2 tsp salt
1 egg yolk
1 1/2 cups golden or dark raisins
4 tsp dried rosemary
1 egg yolk, beaten
1 tbsp milk

Prep: 30 minutes
Rise: 75 minutes
Bake: 40 minutes

In a very large mixing bowl stir together 3 cups of the flour and the yeast; set aside. In a medium saucepan heat and stir the 2 1/2 cups milk, the sugar, butter, and salt until warm (120 to 130F) and butter is almost melted. Add warm milk mixture to flour mixture. Add 1 egg yolk; stir until combined.

Beat with an electric mixer on low speed for 30 seconds, scraping the side of the bowl constantly. Beat mixture on high speed for 3 minutes more. Sprinkle raisins and rosemary onto flour mixture. 
Using a wooden spoon, stir in as much of the remaining flour as you can.

Turn dough out onto a lightly floured surface. Knead in enough of the remaining flour to make a moderately stiff dough that is smooth and elastic, about 6 to 8 minutes total. Shape dough into a ball. Place dough in a lightly greased bowl; turn once to grease the surface. Cover and let rise in a warm place until double in size (about 45 to 60 minutes).
Punch dough down. Turn out onto a lightly floured surface. Divide dough in half. Cover and let rest for 10 minutes. Lightly grease two 8x4x2-inch or 9x5x3-inch loaf pans. Shape each half of the dough into a loaf. Place in prepared pans. Cover and let rise in a warm place until nearly double in size (30 to 40 minutes).
Meanwhile, preheat oven to 375F. For the glaze, combine the remaining egg yolk and milk; brush lightly onto tops of risen dough. Using a serrated knife, make a long shallow cut down the length of dough in each pan.
Bake about 40 minutes or until the loaf is golden brown and crusty. The bread should sound hollow when tapped.Cover loosely with foil during the last 10 minutes of baking to prevent overbrowning, if necessary.
Loosen bread and remove from pans immediately. Cool on wire racks.


Tuesday, October 26, 2010

Pumpkin Bread

Why yes, it is already time for another pumpkin recipe! This one is from The Heritage of Southern Cooking, by Camille Glenn. I don't have a photo of the cover because the book is actually packed away in a box right now. I have the recipe because my husband emailed a scan of it to me years ago, back when we were simply Internet friends. He claimed it was the best pumpkin bread ever, and I agree that it is.

8 tbsp (1 stick) butter, at room temperature
1 1/2 cups sugar
2 eggs
1 3/4 cups all-purpose flour
1/8 tsp baking soda
1 1/4 tsp baking powder
3/4 tsp salt
1/2 tsp ground cinnamon
1/2 tsp ground nutmeg
1 cup canned pumpkin
1/4 cup water, or more as needed

We actually use a full teaspoon of both cinnamon and nutmeg, to make the bread even more flavorful.

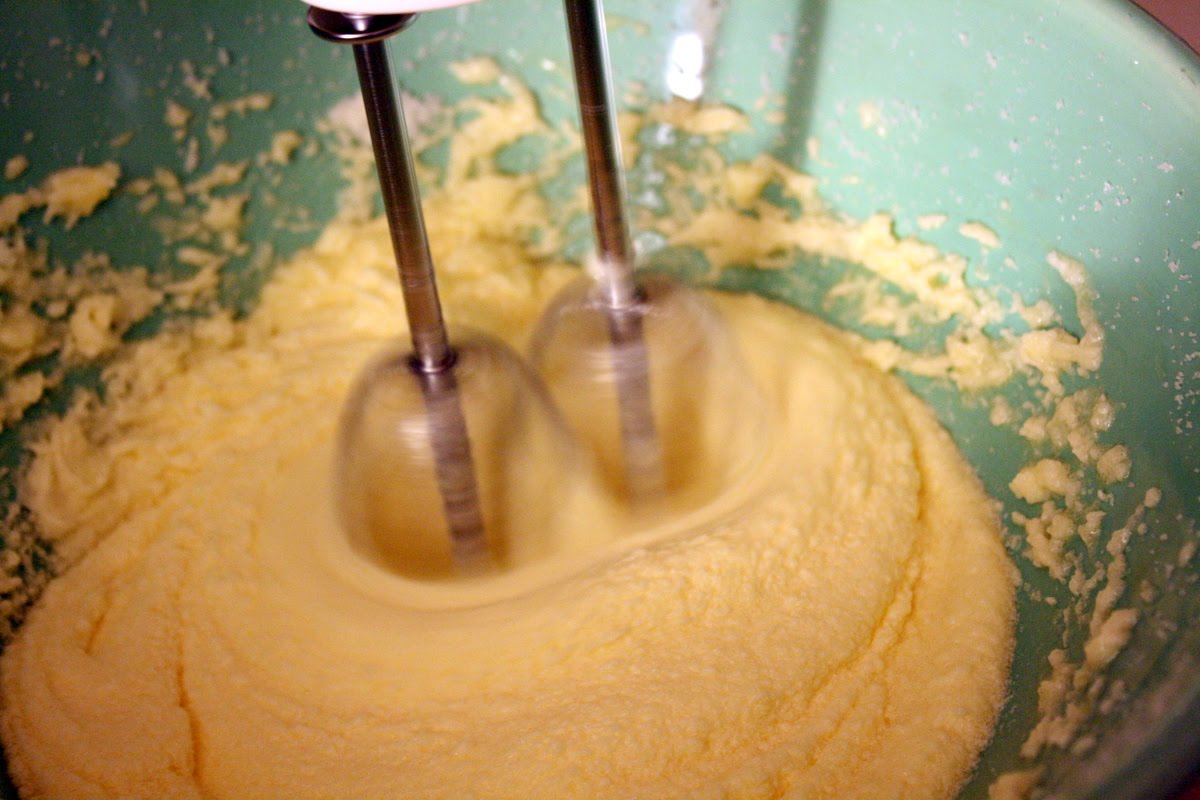
Preheat the oven to 350F. Cream the butter and sugar in the large bowl of an electric mixer or in a food processor. Add the eggs and continue to beat until the mixture becomes thick and smooth.
Sift the flour with the baking soda, baking powder, salt, cinnamon, and nutmeg.
Add the flour, pumpkin, and water alternately to the creamed butter and eggs. Do not overbeat.
Spoon the batter into a lightly greased or foil-lined standard (9 1/2 x 4 1/2 x 3-inch) loaf pan. Place the pan on the middle shelf of the oven and bake for about 1 hour. When a skewer inserted into the center comes out dry, the bread is done.
Remove the pan from the oven and allow the bread to stand for 5 minutes, then turn it out onto a rack.
Cool the bread thoroughly before slicing.